Forum posts by Anne Hijme

  • Author
    Posts
  • #4137

    I'm reposting the invite. Previous version kicked people and didn't allow me to adjust their roles unless they were online at the time. New to creating side of Discord so didn't expect some of the problems previous invites created.

    https://discord.gg/ngZyFnB

    Sorry on the problms folks.

    #4136

    I think overall you're doing fairly well. You are focusing a little too much on torso and need to give the limbs more attention. So try doing a few with the limbs as the focus point and body as after thought. I think with doing several like this you'll find a balance between torso and limbs.

    You may also want to give each drawing more space. Crowding creates problems with the drawing unless you draw a shape plan for each drawing to fit in. My art teacher would tell us to give each it's own page if needed or half a page. Give it room to breath.

    Ex.

    Image viewable (images used are senshistock)

    1 2
    #4135

    I think the main thing is to don't be afraid of drawing more lines. I would look into contour drawings this will improve your longer timed drawings. Don't be afraid of shading as well, either with cross hatching or soft.

    Here is contour lines ex.

    Shading cross hatch

    Shading soft

    Reference was cc senshistock on DA

    Here is some general 5 mins and 8 mins (had to cut it short due to outside interference)
    I did try to color code a little bit with the 5 minutes. Light blue is 1minute, 2nd is dark blue, 3rd was light pink, 4th and 5th is dark red


    2 1
    #4129

    Okay I'm making a discord server. It is my first time doing so; it may need help or changes.

    I will be placing a couple of limited use invite links here. I'll add those who have been part of this thread into the server as a 'Collaborator' So we can begin discussing how we like to proceed.

    Use this new one:
    https://discord.gg/ngZyFnB

    Please when on discord, reference this thread and your username. You don't need to go by your Line Of Action user name. Just so we know who you are in this thread. Mine is the same name without space, I added space for nickname.

    • Anne Hijme edited this post on August 6, 2019 11:42am. Reason: Link caused problems so fixed it.
    #4125

    @Ittakyou64 and Marian345

    I haven't heard anything from Kingsevil yet.
    However I figured go ahead and ask if you are focusing on the same areas as Kingsevil's listed. Is there a preferred means of communication: (Discord, here, skype, etc.) I'm interested in getting started in making lessons together and assignments. I plan to try to find online resources that cover same/similar content as the books. I as I mentioned do not have the books of Scott McClouds-but familiar and have handouts from when I was in school.

    #4107

    So I don't know much on Glenn Vilppu's technique so I look it up online. This video on Youtube by Proko may be helpful on his technique as it is Glenn Vilppu himself drawing. What I see different is he does stronger and repeated curves or smaller, especially when he's working with pen.

    On study reccomendations, learn his first, then try it on your own then learn the other's then try his on your own. Then analyze what you like of each and don't like and see what parts to use for your own gestures. I mainly know Michael Hampton for his more advance yet simplified and useful anatomy. Most of his I know are useful for fleshing out your gestures. I think he has done content for ImagineFX magnazine. So even if you really like Glenn Vilppu's gestures, you can develop them further with Michael's.

    If you are struggling to learn Glen Vilppu's then try the Michael's. But I would give them some serious time first. I highly recommend to begin with longer drawings to get familiar with the technique. Then slowly pick shorter and shorter times till you're actually working on 1 min and 30sec drawings.

    2
    #4103

    So first I highly reccommend this DA chart (cc Phobos-Romulus) to go over Female and Male body types how to add fat vs muscles.

    If you're taking a model with more weight and wish to slim, main way is to look for the bone landmarks. That shows where their core structure is. From there you just trim or add as you like. Example using this (cc Senshistock)

    Adding Fat to a thinner model is just knowing which areas tend to build up fat first on the human body. Using another image from SenshiStock cc


    Same thing can be done with muscle tone. That I feel is usually more obvious to people.
    Hope this helps some.

    #4098

    Tip one with Googling: Try different words, Maybe word 'Bed' isn't needed and just look up sitting profile.

    Less words the better. Try alternative words for the look in mind, like reclining, kneeling, leaning, etc. Instead of Profile try side view or even silhouette.

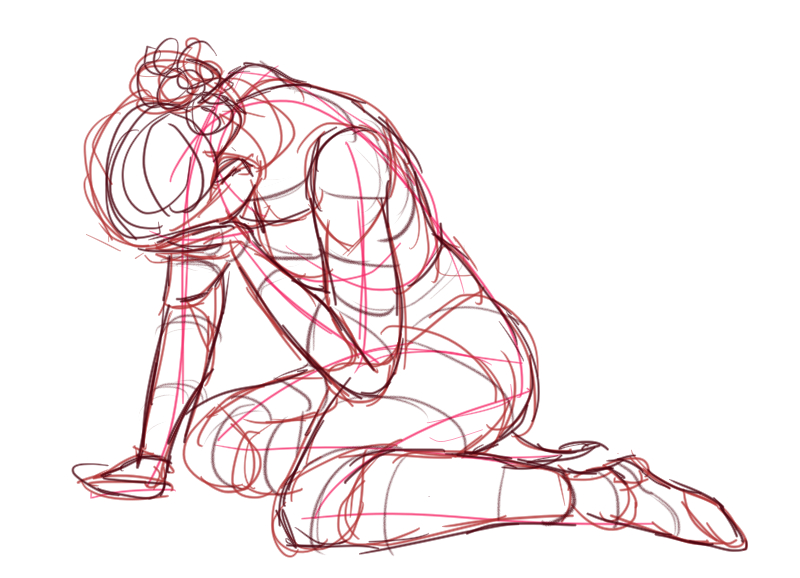
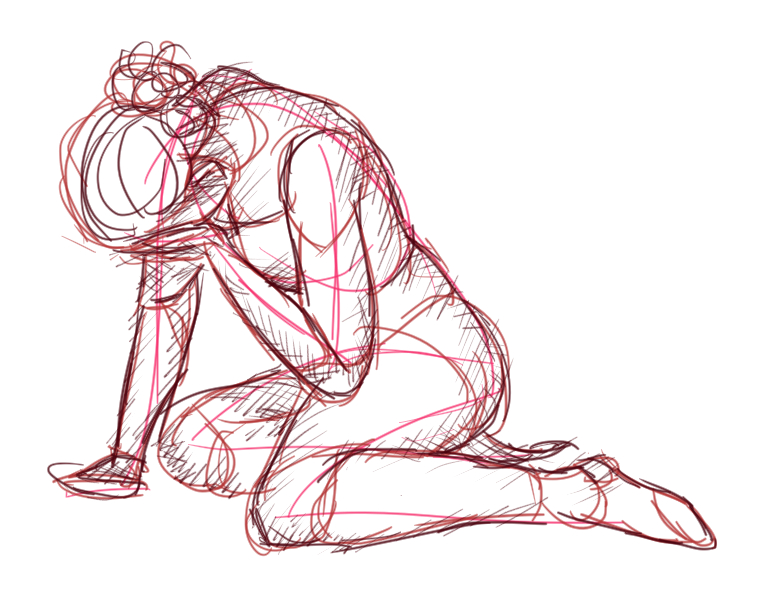
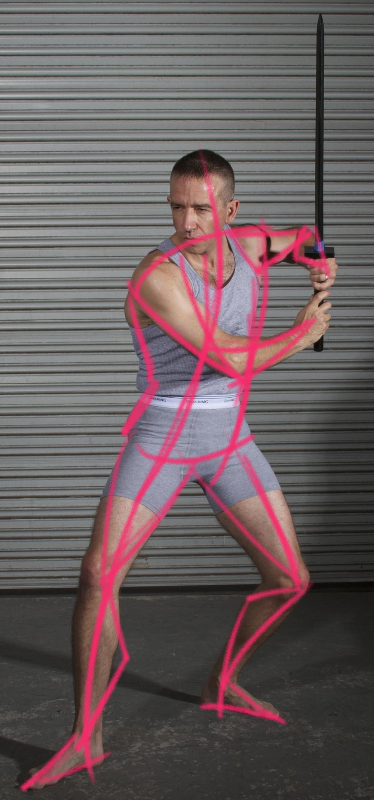
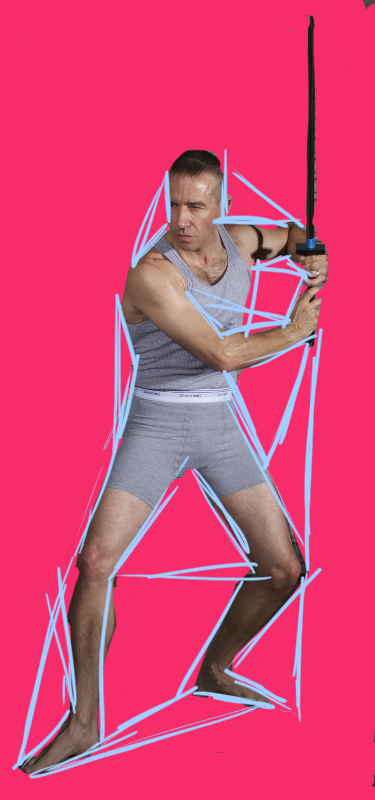
    Tip two if you have a Photoshop like program. Just merge multiple photos into one. Take the head you like from one and the legs from another and arms from a third.
    If no photoshop, print them out and play paste together.

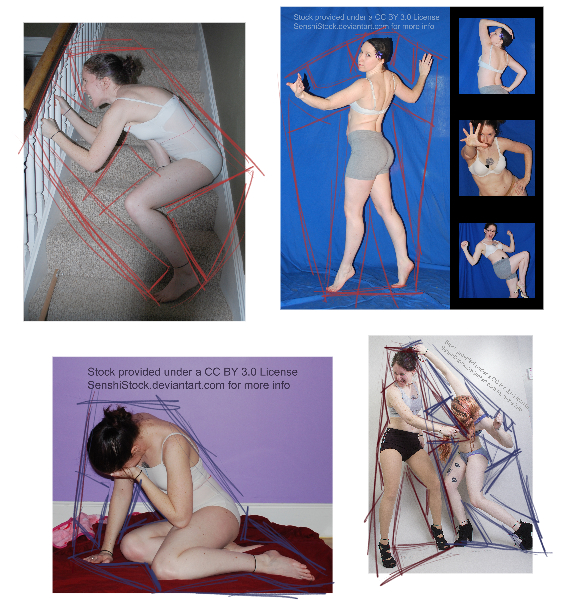
    Tip three, find Royalty free for commercial use Stock Images sites, Some users on DA are such, and some websites are such database. One I can think of is morguefile.com by Artists for Artists. (all these options do not have as good keywords as google so less or alternatives more important here). So this requires more patience and browsing.

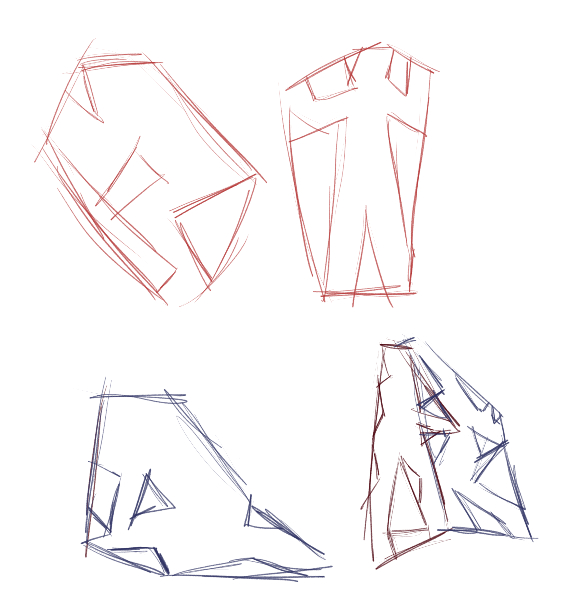
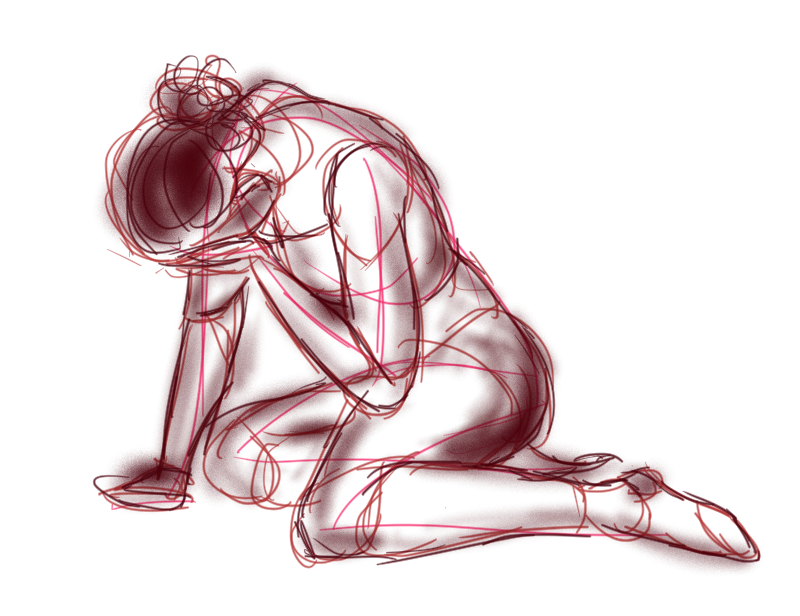
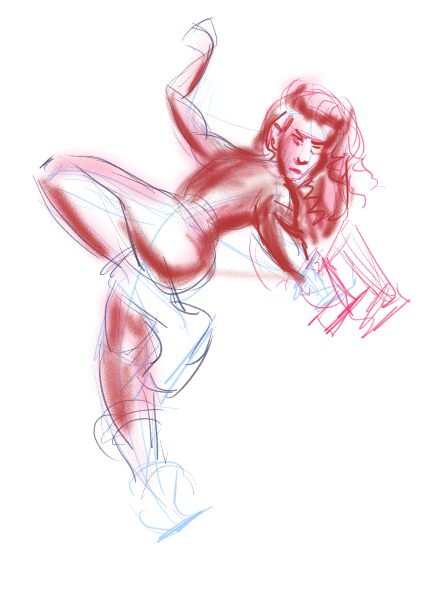
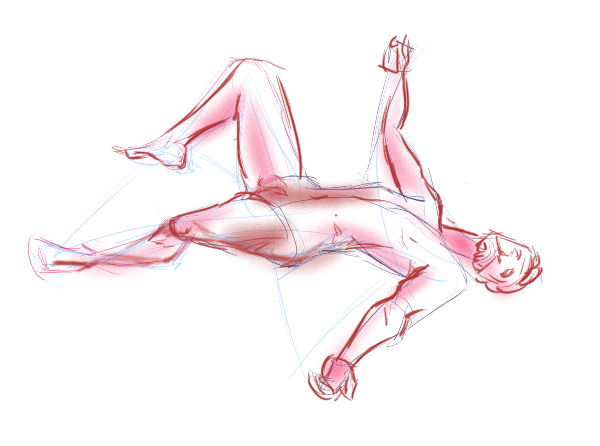
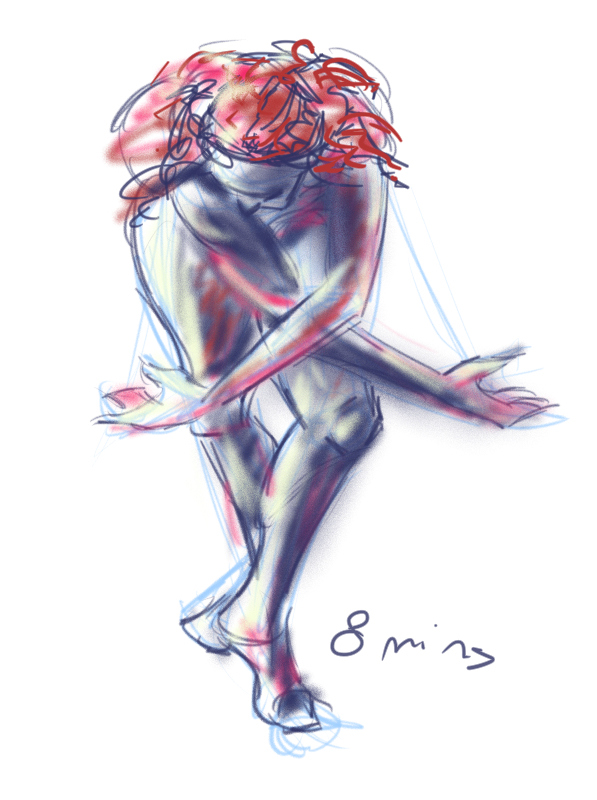
    Tip four, try a 3d modeling program for the pose you want. There are some free ones and there is a learning curve. Design Doll I find pretty easy to use in comparison to other 3d art programs and it's free though it does have pay options but I find them unneccessary. Just discovered this in browser 3d for free called Just Sketch Me.

    Or alternatively, pay the dough for toy model (or live model) that you can pose, good ones are pricy. I reccomend sticky bones. I had recieved mine this year and they are working hard to fufill all orders right now.

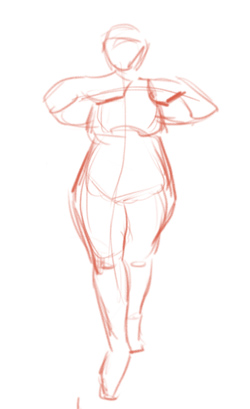
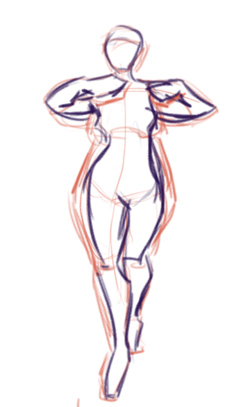
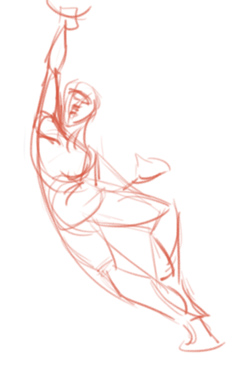
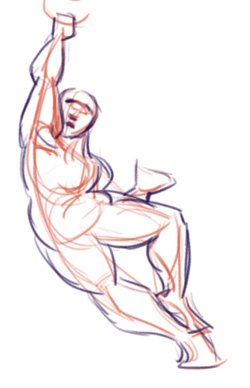
    Later when I'm not at work, I'll give an example of how you can translate a pose from different body sizes. So it'll be posted later.

    • Anne Hijme edited this post on July 23, 2019 5:40pm. Reason: adding another option
    • Anne Hijme edited this post on July 23, 2019 5:42pm.
    • Anne Hijme edited this post on July 23, 2019 6:57pm. Reason: adding program
    #4096

    So you can see some of my gestures vs the explaining and tracing overlay. So you can see that they are still messy but enough info I got the idea later if I look what the pose was like.

    Also I have to compliment you already figured out something that took me a while to do. With longer poses you began with gesture and then build on top of them. That took me a while to do. I had went straight into details, so great work on that.

    NOTE: Even with these tips it takes practice to get used to it. My early gestures looked like yours except I focus more on the head. Like a lot.... So don't worry if yours do not look like mine even with these tips. I've had years of practice. It'll take some experimentation and practice to find the best techniques for yourself.

    30sec

    1minute

    5min

    5
    • Anne Hijme edited this post on July 23, 2019 1:04pm. Reason: Adding a sentence
    #4094

    Main critique is you focus too much on the body for short poses. The limbs will tell you about the body. The point of short poses it to be able to go back later and get an idea of what the pose was. With most of these you have no idea when going back. It is a common mistake to focus too much on body and/or head.

    My tricks, (Please do experiment. What works for me may not work for you so try things and see what works.) Gesture curve (Remember it should be a simple curve no complexity) to go through as much as the body and limbs as you can.

    Then for body all you need is shoulder line, torso line, the curve side and pinch side. For very twisted poses a line in front and center back to show the planes of the body.

    Then immediately get the arms either in a single line or I like to use triangles (I'll go over usefulness of such later.

    If you got time input head and hands. If there are objects they are working with draw the basic shape such as line, box, circle, triangle etc to represent it.

    Now to explain triangles I have to first explain Positive and Negative space. If you don't know. Positive space is the subject matter, negative space is the background. This is a bit messy but gets the idea across. Pink is negative.

    Now with this you can find useful shapes that make it easier to place limbs. I did as many possible triangles as an example, but really all you need is enough to get an idea for a limb placement. You don't need all of these.

    cc for image goes to SenshiStock

    3 1
    • Anne Hijme edited this post on July 23, 2019 12:48pm. Reason: fixing images
    • Anne Hijme edited this post on July 23, 2019 12:50pm. Reason: fixing images
    #4090

    That sounds like a good idea. I've been trying to improve composition/perspective, dynamic poses, and visual communication. I also been putting a focus on character design and consistency of those characters.

    I know Scott McCloud's 'Understanding Comics (The Invisible Art) parts of it was used for a class I took. I do not own any of Scott McCloud's books. Though that one I still have reference notes from. I been using more animation books for my study.

    Such as The Silver Way: Techniques, Tips, and Tutorials for Effective Character Design. (video preview)

    And Directing the Story: Professional Storytelling and Storyboarding Techniques for Live Action and Animation.

    Downside I've recently moved to a new house, so I need to pull them out from their boxes when I figure out which boxes they are in. So I may be slow starting, However I'm quite willing to commit.

    • Anne Hijme edited this post on July 23, 2019 2:39am. Reason: repeated sentence